I won’t bore you with the details of my realization, so we keep this blog as short, as always; but it took a real world scenario for me to see the importance of writing tests. There are various types of tests, but in this blog, we will explore e2e tests with cypress because it's free, fast, written in JavaScript, among other reasons: there're also other great options for this kind of tests, besides cypress.
To get started with e2e tests, we need an app, with implemented user behaviors and layout (output) to test. The app is from a Laravel tutorial: you're welcome to binge watch, code along or skip to the next section (below).
Getting started;
To get started, fork the repo and git clone that into your machine, and checkout a new branch called e2e by running the command `git checkout -b e2e`, then `composer install` to install the apps dependencies, defined in the `composer.json` file.
We’re also going to edit a file or three, to generate the required data, we’ll be writing tests for, just like a real app, before getting started with the tests.
We don’t need to setup a mysql server for this, so we will fallback to using and sqlite database. Edit the file `config/database.php` line 18 to `''default' => env('DB_CONNECTION', 'sqlite'),`
Then to generate users with a hashed password we can use to test login, change the file `database/factories/UserFactory.php` line 25 to `'password' => Hash::make('123'), // password`, be sure to add a use statement at the top of the file for the `Illuminate\Support\Facades\Hash;` we just used to hash the password string.
Lastly, before we run the app, let’s edit the file `database/seeders/DatabaseSeeder.php` so we can generate multiple users with multiple Job listings for each user. Change the implementation for the run method to
```php
$users = User::factory(5)->create()
                        ->pluck('id')->toArray();
foreach ($users as $uid) {
   Listing::factory(20)->create([
       'user_id' => $uid
   ]);
}
```
Starting the application:
- Copy `example.env` as `.env`
- Update the DB_CONNECTION to `sqlite` in the .env file, and create the `database/database.sqlite` file.
- Run `php artisan key:generate` to generate your `APP_KEY`, (auto update .env file)
- Run `php artisan migrate` followed by `php artisan db:seed` then `php artisan serve` to run the migrations, seed the dummy (fake users and listings ) data, and run a local development server for your application respectively.
The last command prints a url, which we can use to access the app during development.
From your favorite browser, open that url, notice the layouts; the pagination and it’s behavior when clicked: open an sqlite db browser and select an email in the `database/database.sqlite` file, then click the login link and try the selected email with password ‘123’ (as set during seeding), try again but with the wrong password and notice the behavior, as these will be the behaviors we will be writing tests for in the next section.
Getting Started with cypress:
We already have a `package.json` that’s generated by default when we first create a Laravel project using composer, the next step (from a different terminal window, and at the root of this project folder) is running `npm i cypress --dev` to install cypress.
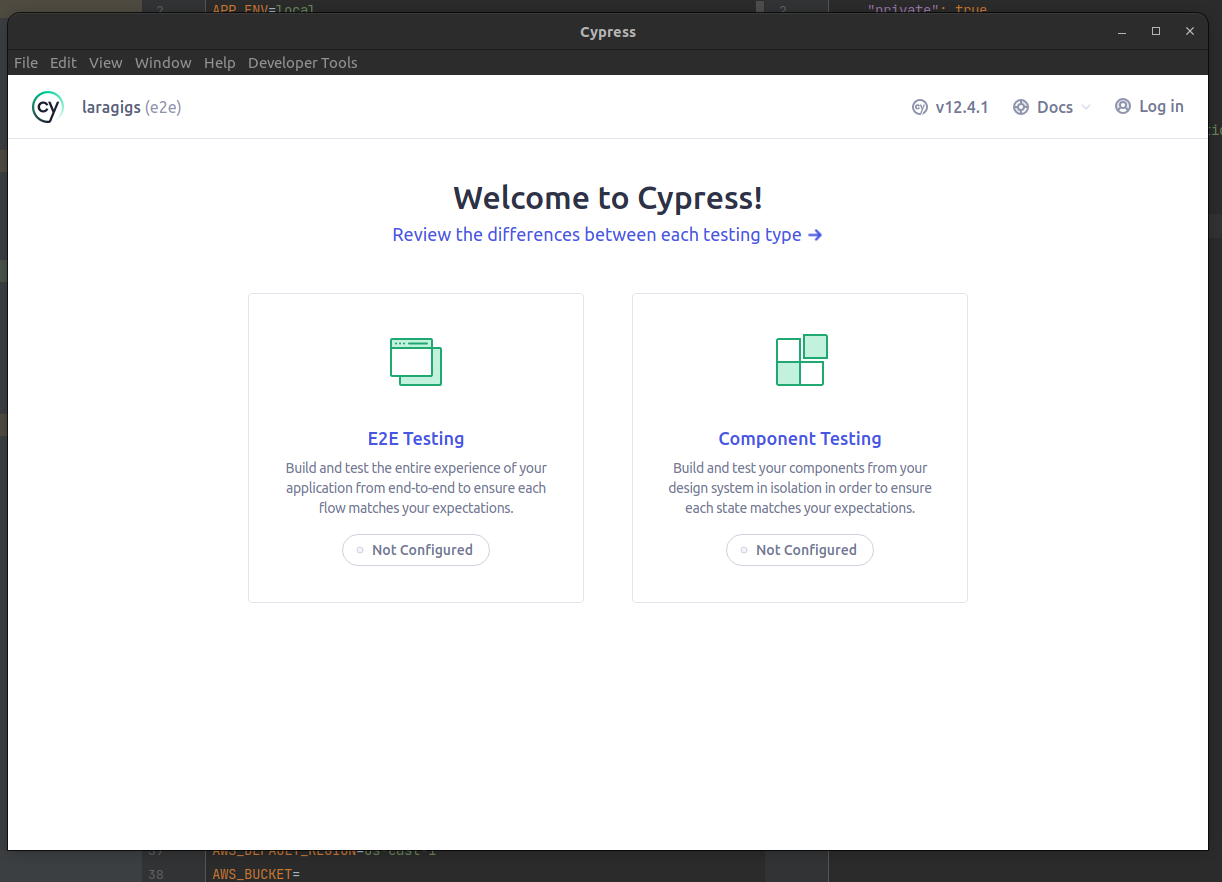
Then include `"cypress:open": "cypress open" under `scripts` in the `package.json`, then run `npm run cypress:open` to open cypress for the first time. And then follow the next prompts to get set up with cypress.
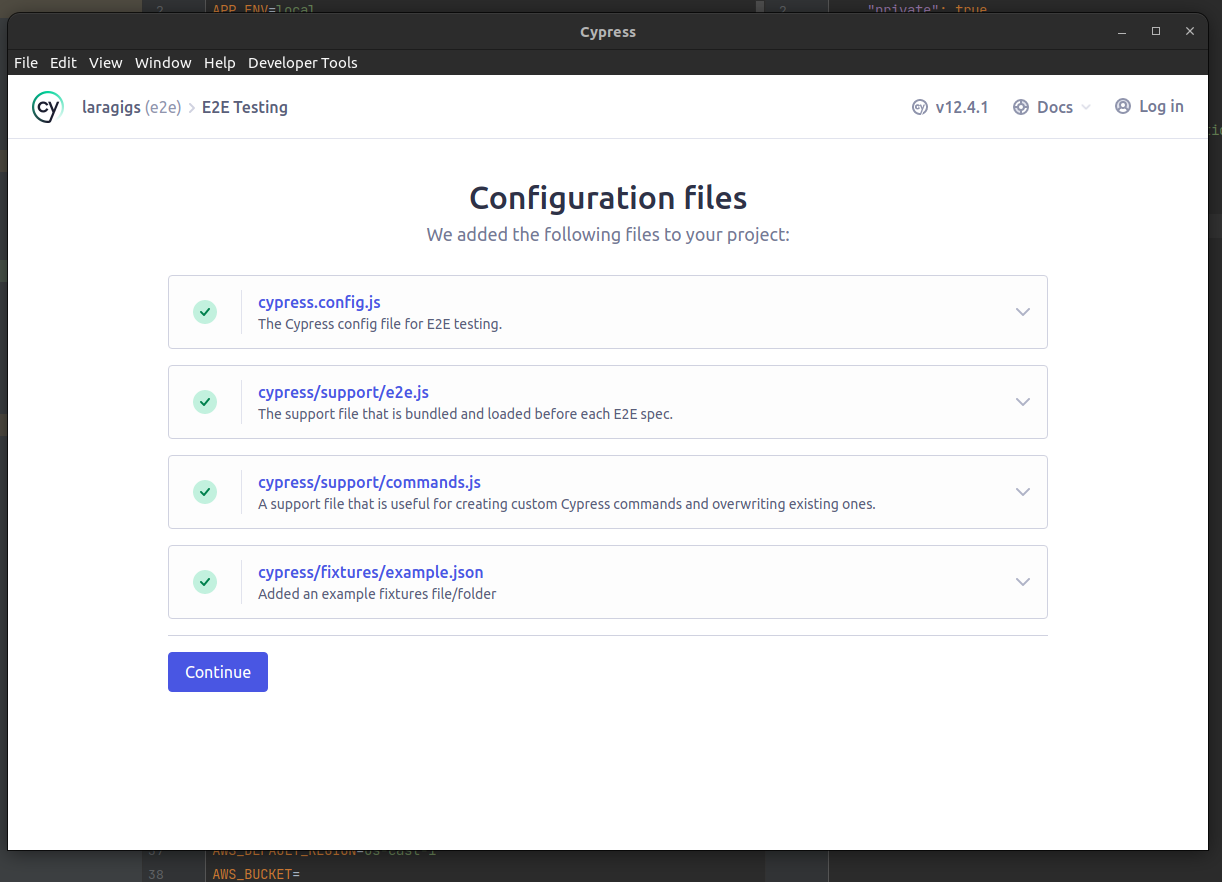
Some files and folders are auto generated when first setting up cypress, these include `cypress.config.js` and a `cypress/` folder, which contains other folders. For this blog, let’s focus on the `e2e` subfolder inside the `cypress` folder.
Inside this folder, we can arrange the tests in folders/files.
Let’s add a folder/file named `cypress/e2e/landing-page/landingpage.cy.js` and another `cypress/e2e/user-auth/login.cy.js` in this project, to test the landing page and login page elements and user behaviors.
With cypress, we can create a test suite with `describe`, and run some setup code in `beforeEach`, like to visit the url of the page we want to test in our case.
Then from here, we can test each element; its attributes and/or their values, as well as their behaviors on user actions, like clicks.
For the landing page let’s test;
- The search input
- The Pagination elements and their behavior on clicks
- The footer `Post Job` link for non logged in users
In that order:
Add the following contents in the `landingpage.cy.js` to include the test cases above.
/// <reference types="cypress" />

describe('landing page', () => {
    beforeEach(() => {
        cy.visit('http://127.0.0.1:8000/')
    })

    it('displays landing page elements and basic navigation for non logged in user', () => {

        // The search form input
        cy.get(`input[name="search"]`).should('have.attr', 'placeholder')
            .and('eq', 'Search Laravel Gigs...')

        // Pagination (generated enough items).
        cy.get(`nav[role="navigation"]`).should('have.attr', 'aria-label')
            .and('eq', 'Pagination Navigation')

        // To to page 3 on pagination
        // Get third item (index) from list.
        cy.get(`[aria-label="Pagination Navigation"] a`).eq(2)
            .click()
        cy.url().should('include', '?page=3')

        // Footer items, on 'Post Job' btn, user should go to login, if not logged in.
        cy.contains('Post Job').click()
        cy.url().should('include', '/login')

    })

})
For the login page let’s test;
- The form crf token for the submission security.
- Successful login and nav items for the logged in user.
- Unsuccessful login when a user enters a wrong password.
In that order:
And the following contents to `login.cy.js` to include the above tests;
/// <reference types="cypress" />

describe('Login workflow', () => {
    beforeEach(() => {
        cy.visit('http://127.0.0.1:8000/login')
    })

    it('login page elements', () => {

        // Test the form
        cy.get(`form[action="/users/authenticate"]`).should('exist')

        // Crf token and value.
        cy.get(`input[name="_token"]`).should('be.hidden')
        cy.get(`input[name="_token"]`).invoke('val').then(val => {
            val.length > 8
        })

    })

    it('should successfully login', () => {

        // email = dkuvalis@example.com
        // password = 123
        // name = Hugh Hermann
        // see \database\database.sqlite

        cy.get(`input[name="email"]`).type('dkuvalis@example.com')
        cy.get(`input[name="password"]`).type('123')
        cy.get('button[type="submit"]').click();

        // Elements for logged in users:
        cy.get('nav ul > li:first-child > span').invoke('text').then(text => {
            const trimmedText = text.trim();
            cy.wrap(trimmedText).should('eq', 'Welcome Hugh Hermann');
        })


    })

    it('should show error on unsuccessful login', () => {

        // Wrong credentials:
        // email = dkuvalis@example.com
        // password = 1234
        // name = Hugh Hermann

        cy.get(`input[name="email"]`).type('dkuvalis@example.com')
        cy.get(`input[name="password"]`).type('1234')
        cy.get('button[type="submit"]').click();

        // Show error if credential wrong:
        cy.get('p:contains("Invalid Credentials")').should('exist')


    })


})
Running the tests:
After running `npm run cypress:open`, the cypress app opens, and from here, you can follow the prompts and choose a browser from the options to run the tests on.
When running the tests, one can view the tests being run as well the actions of the same on the app.
Conclusion:
We touched a little about getting started with Cypress testing in a Laravel app, from here, one can write more tests to cover the crucial parts of their application.
With Cypress, developers can write comprehensive tests that simulate user behavior and catch potential issues before they reach production. This also saves developers time and resources by automating the testing process, thus improving the quality of your application.
It's also recommend to use data attributes specific to testing, as DOM selectors instead of class/ids like I have done.
Resources:
- The initial app @ https://github.com/bradtraversy/laragigs
- The app with tests (PR) @ https://github.com/flaircore/laragigs/pull/1/files
- Cypress docs https://docs.cypress.io/guides/getting-started/installing-cypress
- Laravel docs https://laravel.com/docs